
Road Builder Lets you create non-linear roads easily by using a network of nodes. With easy to use buttons to extrude, join, insert nodes and create mesh. Building new roads has never been so easy.
Download
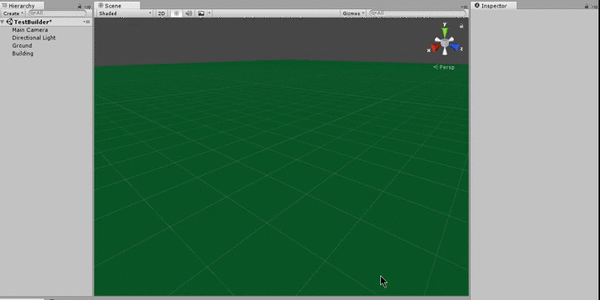
Creating your first road

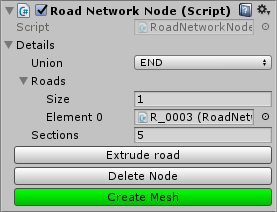
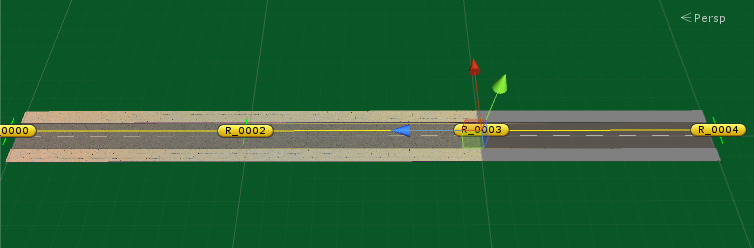
With this prefab selected, click on the Start new road button in the inspector. This adds a new road node to the scene as a child of the network node.Now select This new node and click the 'Extrude road' button. this is your first (and the smallest) road. Click on the 'Create Mesh' button from any node and it will create your road.
From here you can Extrude from any node, just select the node and press Extrude, Each node has a type (Union)End: One connection
Corner: Two connection
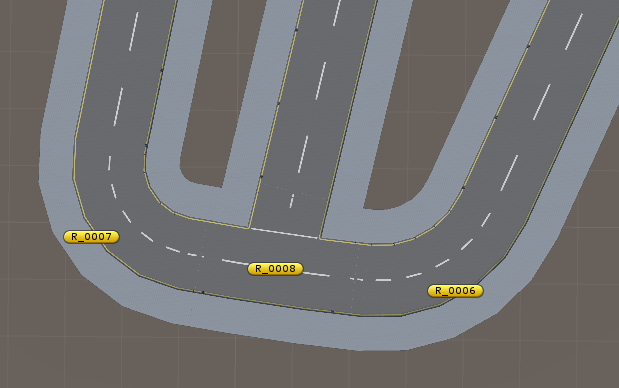
Junction: Three connection
Cross Roads: Four connection
You can't extrude from a node with 4 connections.Just press on the 'Create Mesh' to check your final mesh.

Modifying existing roads
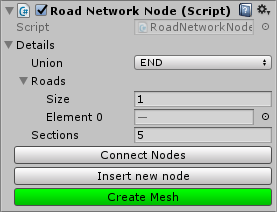
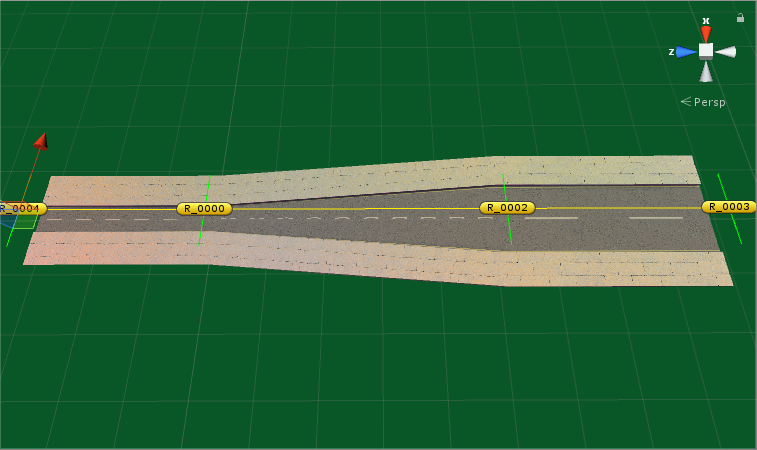
Connect Nodes :- Select two nodes that are not connected, and press 'Connect nodes' to connect them.
Insert new Node :- Select two nodes that are connected, and press 'Insert new Node' to create a new node in between them.
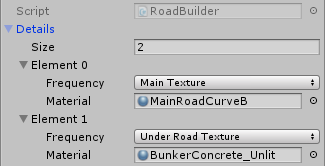
Materials Frequency


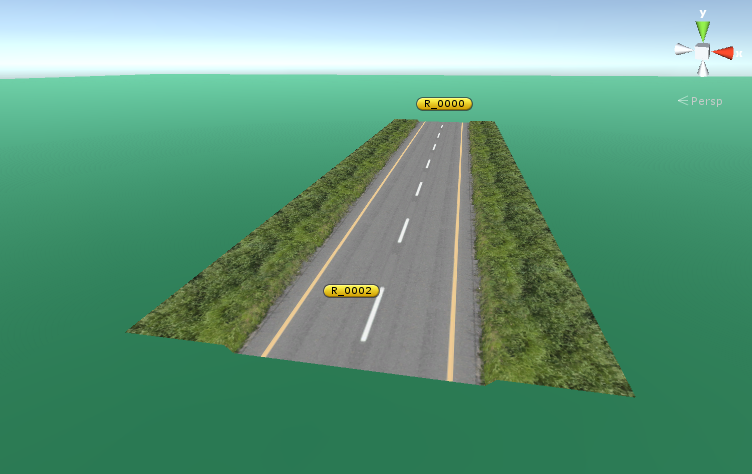
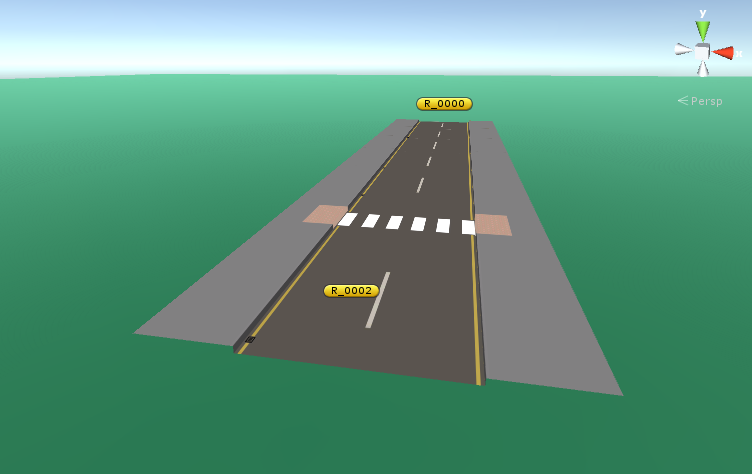
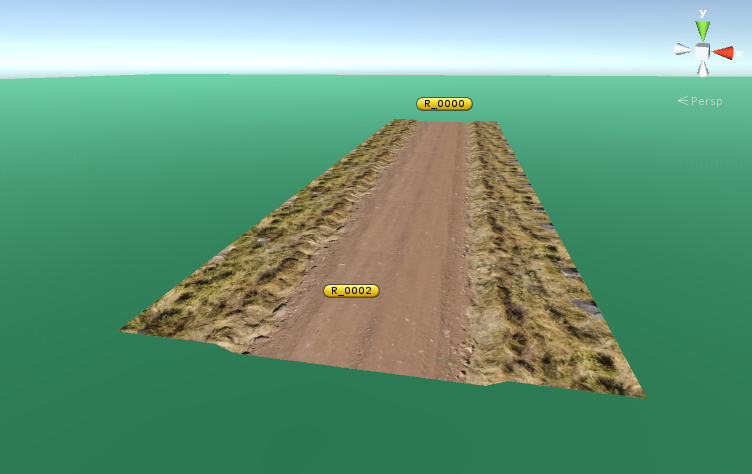
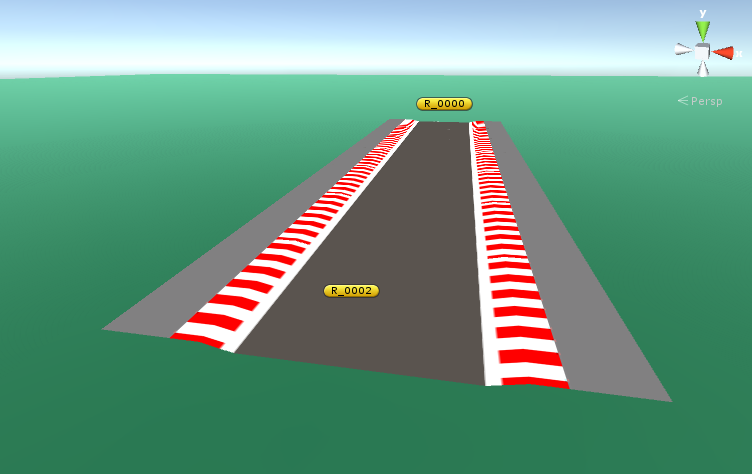
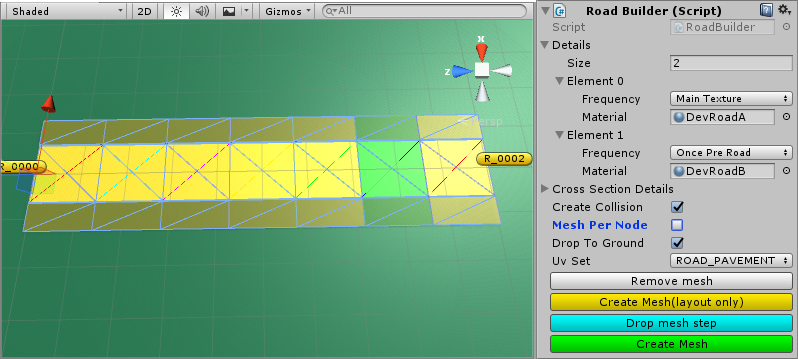 The look of the road is defined from the set of material frequency items.The first frequency you should always have set is the Main Texture This applies the material to all of the road.Once per road will set the material to just once section per road. you can see in the above example as the green section on the road.
This option is ideal for one off details like Manhole covers, drains, etc..Random 50 Percent Will replace the current material about 50 percent of the time.
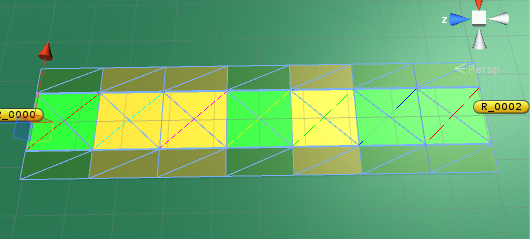 This option is ideal for more common details like road damage etc..All the options here can be stacked, adding a new 'Once per road' to our example will always set the once material on top of the other settings.
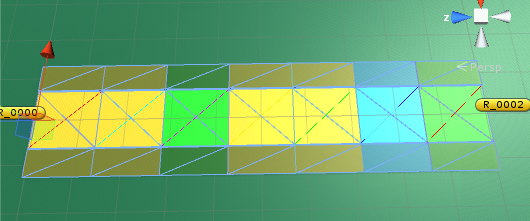 So here you will get the Blue material on each road (Once per road), but you will get a mix of Yellow (Main) and Green (Random 50%)The current list of options are listed below.Main Texture: Base texture for the road
Once Per Road: Will only appear once per road
Random 50 percent: Will randomly appear about 50% of the time
Random 25 percent: Will randomly appear about 25% of the time
Middle of Road: Will appear in the middle of the road
You can add more by updating the code in the method SetMaterialsArray in the file RoadConstructorHelper.cs
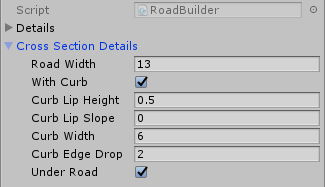
Defining the look of the roads
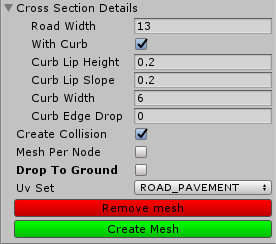
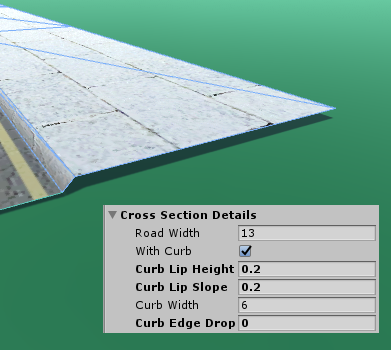
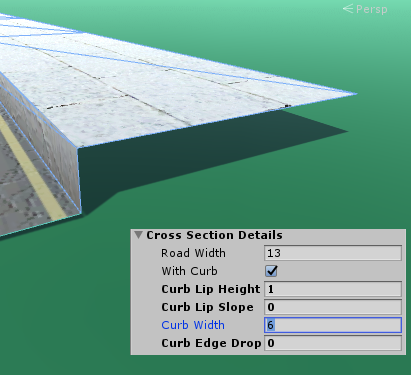
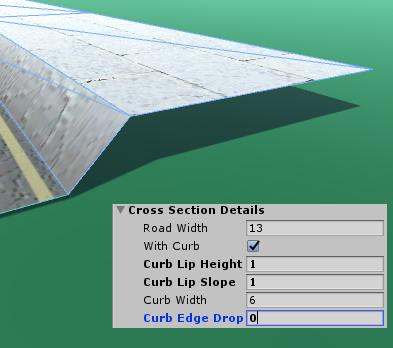
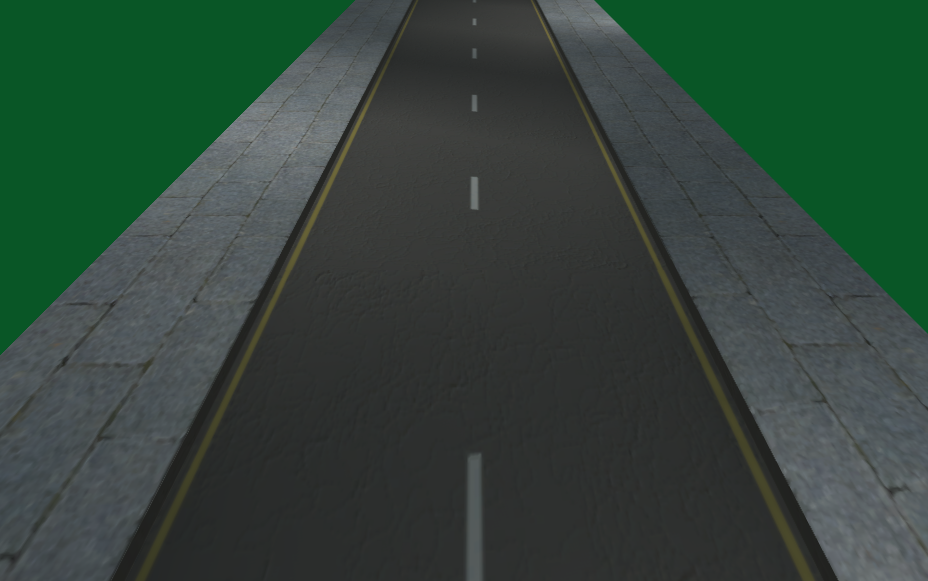
Road Width: The width of the road
With Curb: If ticked will create a Curb
Curb Height: How high the curb will be above the road
Curb Slope: How far back the curb starts
Curb Width: How wide the pavement section is
Curb Edge Drop: If the curb is raised, then this can be used to fill the gap at the far side of the road
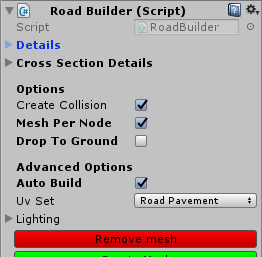
Mesh Per Node: If ticked this will separate the mesh and create it on each of the nodes. This is to help will object culling. if not set it will just add the roads as one mesh on the base object.
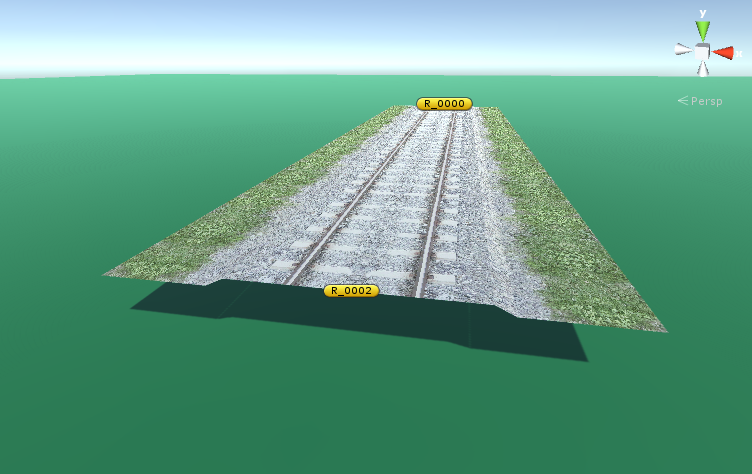
Drop To Ground: If ticked will drop the road to any object with layer set to 'Ground'. Note this could be slow for large roads.
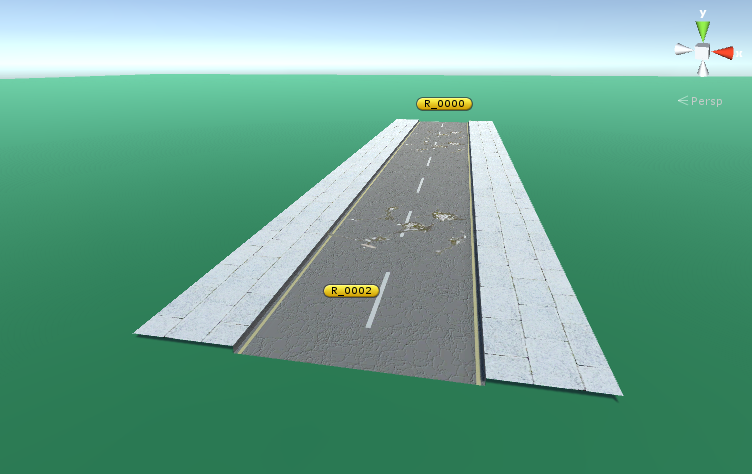
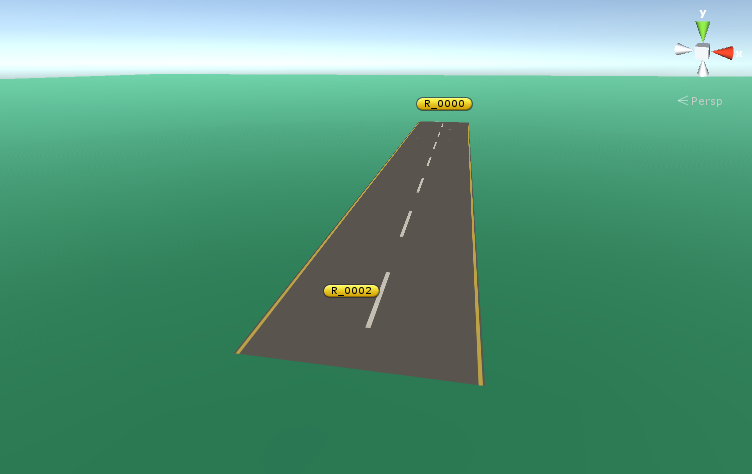
UV Set: The main textures used for the roads have the road and pavements, 'ROAD_PAVEMENT' But if you are not using the Curb/Pavement this is wasteful and you should select the 'ROAD_ONLY' option that will use the full width of the texture as the road.
Dynamic road widths
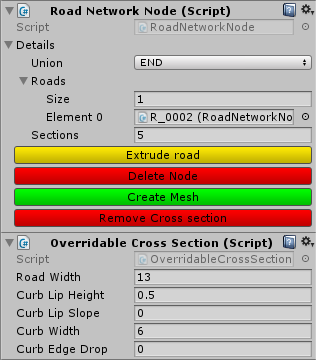
 Each Road Network Node now has the option to Override Cross Section
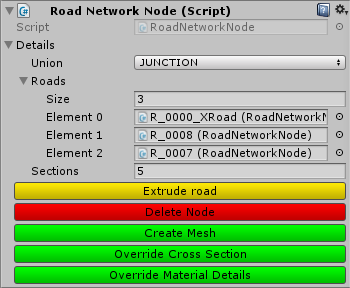
Override road materials
 Each Road Network Node now has the option to Override Material DetailsJust Click on the Add Override Material Details to override the settings.And the new script will be add to the object, that will let you set your Material Details.If you need to remove the Override Material Details just click on the Remove Material Details ButtonPlease note: Override material will not work well for Junction and cross roads. This is due to the way Junctions are created as a mesh.(Future releases may fix this)
Rounded inner corners

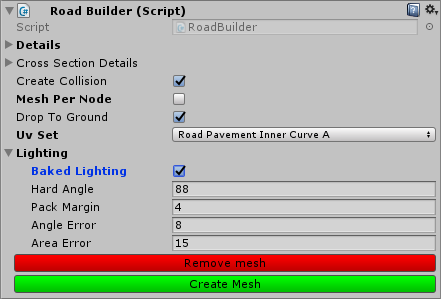
Baked Light map support
Modify terrain
Closer nodes and 5 or 6 road junctions
 Junctions can now have 5 or 6 connecting roads
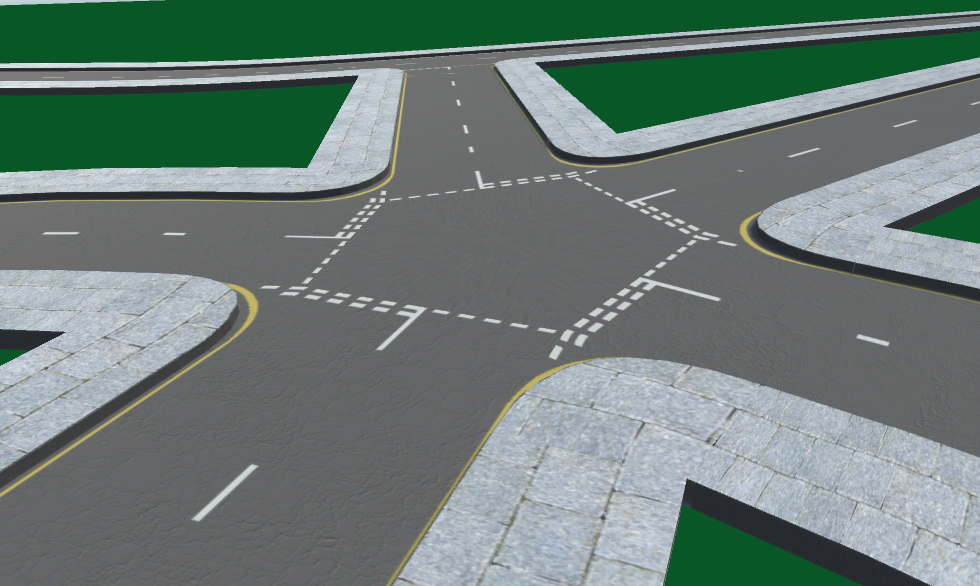
Faster mesh creation and AutoBuild
Note the AutoBuild option can only work whenMesh Per Node: Is ticked
Drop To Ground: Is not ticked
You can see the auto build in action below.
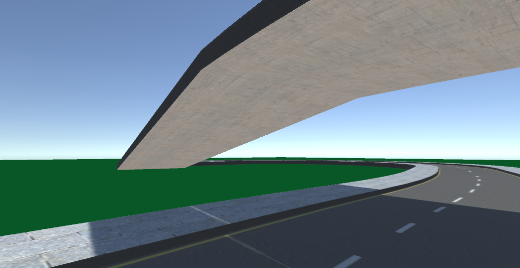
Render underside of the road
You may also like
Fence, Wall and Hedge Builder
Fence Wall And Hedge Builder Lets you quickly place walls in your game, using a user-friendly UI from within the scene editor or the inspector, Select from a list defined wall types and then select the style of that type
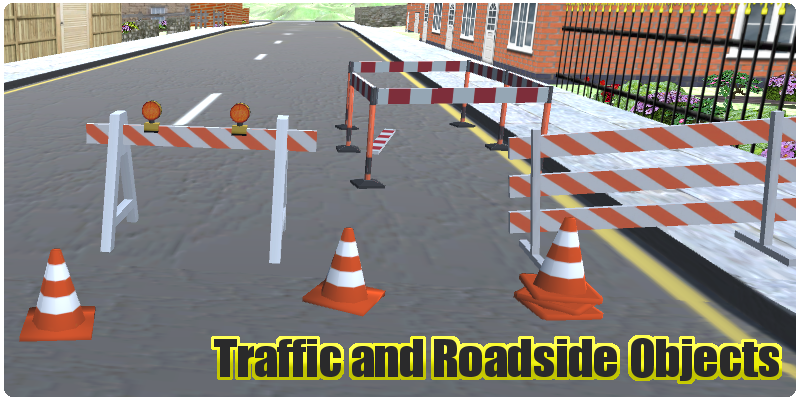
Traffic and Roadside objects
A Collection of 42 traffic and roadside objects prefabs, Ideal for any city.Contains: Traffic Barriers, Road Barriers, Traffic Cones, Traffic lights (Animated), Crossing lights (Animated), Benches, Bins
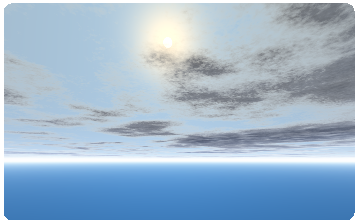
Skyboxes Skies
Section of 10 Variety skies skyboxes, High quality panoramic scenes that can be used in your game.All textures (6 of them) are 1024 by 1024 resolution.